Tuesday, September 17, 2013

Roasted garlic fries with brown butter & Parmesan cheese

You guys....
Let me introduce you to the most delicious fries, if you haven't already met. These beauties are fried(or baked) and tossed in a brown butter garlic sauce and topped off with Parmesan cheese and parsley. It honestly doesn't get much better.

I went to the Texas Rangers game this past weekend and couldn't stop eying all the food as the fans walked by. They had mounds of nachos, ten two-foot hot dogs and burgers that were seriously larger than my head. Check out some great pictures of the food here and see what all I had to eat!

But nothing stuck out like the smell of those amazing garlic fries. The garlic mixed in with the butter and melted Parmesan...They are my fav. SO, I decided to make you some at home. Here is my version of the stadium garlic fries.

Fried version:
2 lbs russet potatoes, rinsed and scrubbed clean
1 stick butter,  browned
2 quarts of oil
1 head of garlic,  roasted
2 Tbs of chopped fresh parsley, more for garnish
1/3 - 1/2 cup shredded Parmesan cheese, more for garnish
kosher salt and pepper to taste


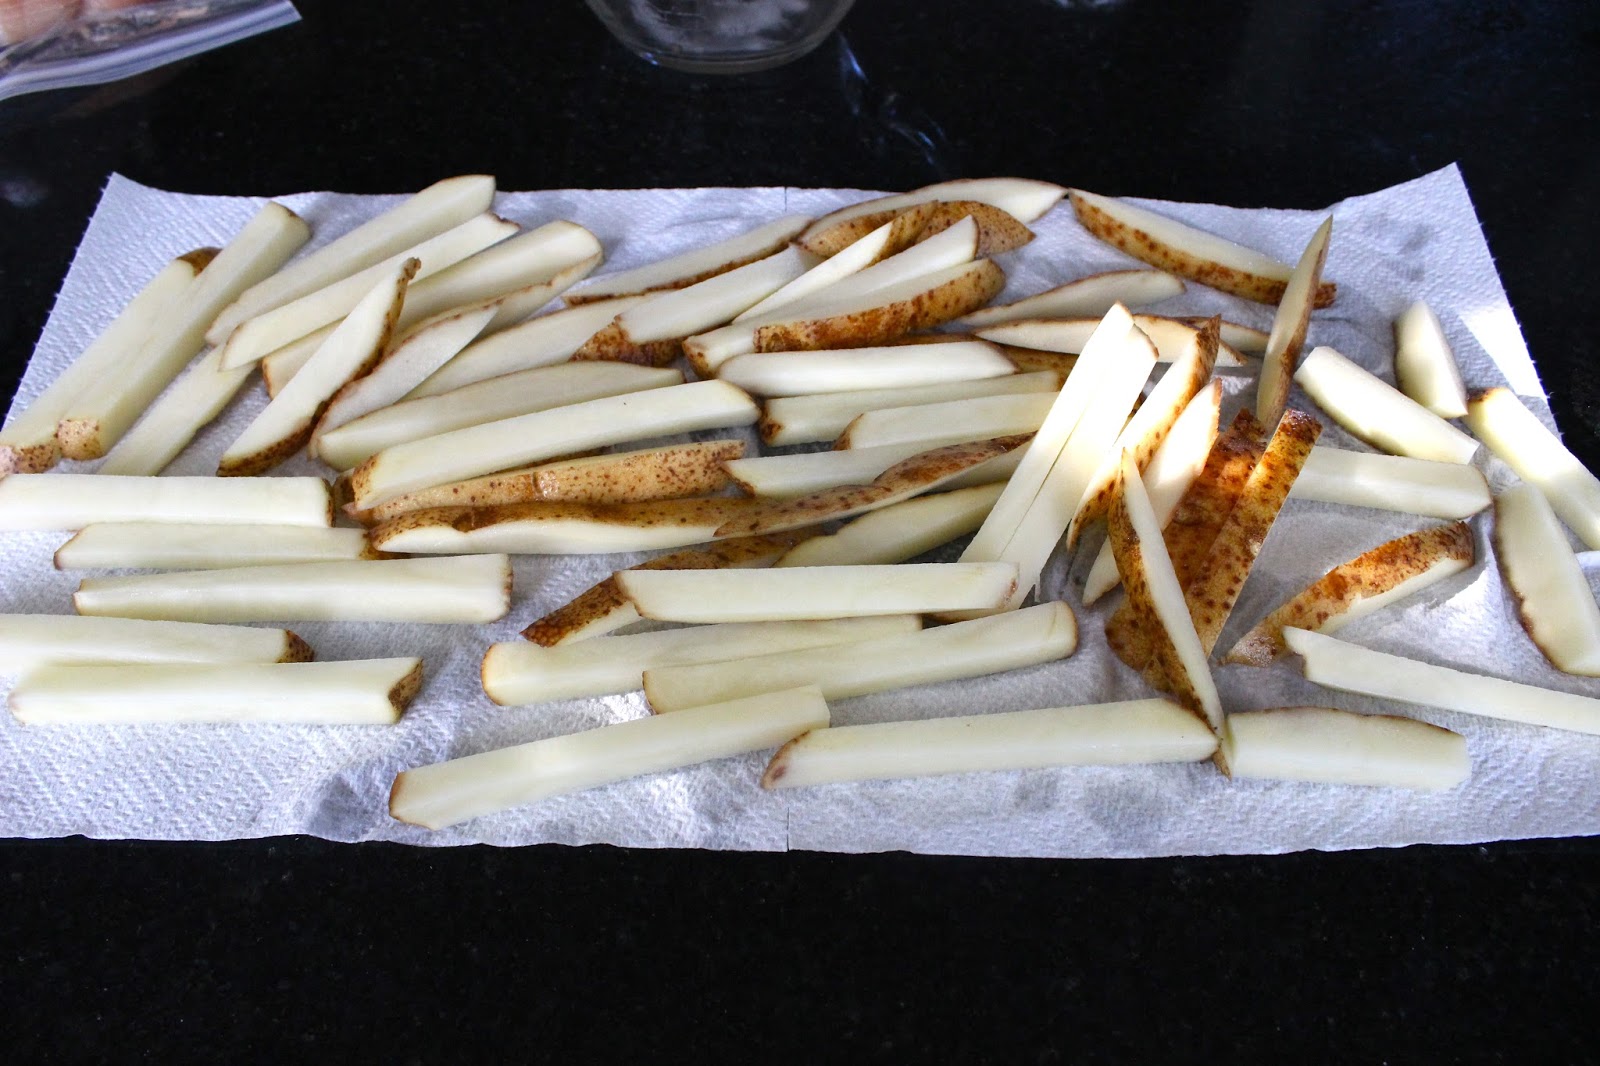
Cut potatoes and set in large bowl of cold water for at least 30 minutes. I left the skins on mine.


Roast the garlic and set aside. Brown the butter and while butter is still warm add roasted garlic and smash until mixture is well combined.


Heat oil in large skillet to 325 degrees. Rinse off the potatoes and pat dry.
When potatoes are dried and oil has reached 325 degrees, throw those puppies in and watch them sizzle! When potatoes are par-cooked, about 5-6 min, remove from oil and allow to  drain. Now, turn up the oil to 350 degrees. When the oil is heated, add the potatoes again and allow them to cook until brown and crispy, about 3-5 more minutes.

While second batch is cooking, put butter and garlic mixture in large bowl. When potatoes are done and still hot add them to the garlic butter and start tossing them to coat well. Add your salt and pepper at this point so it sticks. Then add parsley and Parmesan and toss. Afterward, garnish with more of the goodness:)


Baked Version:
Follow above instructions for fried version but instead of frying:
Turn oven to 400 degrees
After potatoes have been sitting in water for 30 minutes, pat dry and then place onto baking sheet. Toss them with 3 Tbs of oil and sprinkle with salt and pepper. Be sure there is no overlapping or you won't get that good crunchy result!

Cook potatoes for 45 minutes in 400 degree oven, turning potatoes after 25 minutes. Turn oven to 500 degrees and cook for another 10-15 minutes or until brown and crispy. After the fries are baked and while still hot, add to the roasted garlic and brown butter mixture. Toss and then you can add more salt here if you like. I did. Finish off just as instructed above and you're set!
I will finish with one comment. I ate all the fries... I really enjoyed both versions of the garlic fries. Both had wonderful flavor and texture. If you would like to save calories and fat and still make these fries, I promise you will be satisfied with the baked version!


What is your favorite food/drink to get at the game?

P.S. Here is a picture of the cheeseburger that was the size of my head. See what I'm talking about?!


Thursday, September 5, 2013

Perfect Cheeseburger

Look at what I made for you. It is the classic American cheeseburger and it is so good.

Growing up I always went for the hotdog. We had the option of a burger or a hotdog when my dad grilled and I always went for the plain old hotdog. I don't know why because they were always so charred I thought they were gross and had to scraped off the black, but he liked them that way. 

I eventually grew up and discovered how amazing the burger could be. I found that making a burger could go any direction you pleased. From cheeses and toppings to the way it was cooked you able to transform your burger into a masterpiece. That's pretty much what I did here.

So here's how it's done:


I prefer my perfect burger to be cooked over a hot charcoal grill with little seasoning. I stick with the basic salt and pepper because when you start adding all those fancy things in the patty it sorta becomes a flat meatloaf you grill. Catch my drift? 

Also, when people get the meat and start packing it full of different spices they tend to "over pack" the meat which will lead to a tough, dense, dry patty that it ultimately like eating a rubber boot. Trust me, I have been there too many times at backyard barbecues. You know who you are...

When it comes to choosing what kind of beef you want to use the hard and fast rule is that the leaner the meat, the drier it will be. Preferably, I use nothing higher than 85/15 chuck. That means that is 85% meat and 15% fat. This will give you a nice juicy burger with a good flavor. Chuck is a no fail choice. Always comes out juicy and flavorful.

For this beauty I chose the traditional American cheese.  It's classic and melts oh so well. Remember,  CHEESE NEEDS TO BE MELTED! It's a small detail but totally makes a difference. Cheddar would have worked well but I didn't have any. 

With this classic I choose to use caramelized onions. There is something about a caramelized onion that just takes the burger to the next level, ya know? The onion has become sweet and smooth while possessing a smoky depth of flavor. This is a small step but shouldn't be overlooked.

I grow my own tomatoes so I had to slice up one of those bad boys for the burger. There is not much better than a homegrown tomato right off the vine. Sprinkle that baby with some S&P and it's good to go. I also topped it off with some thick-sliced dill pickles for that extra crunch and tangy flavor that goes well with the spicy mustard. 

Finally, I chose a classic white hamburger bun because it is soft and has a slightly sweet taste that just makes this cheeseburger a simple summer classic. 

Beer on the side.

Why didn't dad offer up something like this when he was blackening those hotdogs?

What did you like better as a child? Hamburgers or hotdogs?